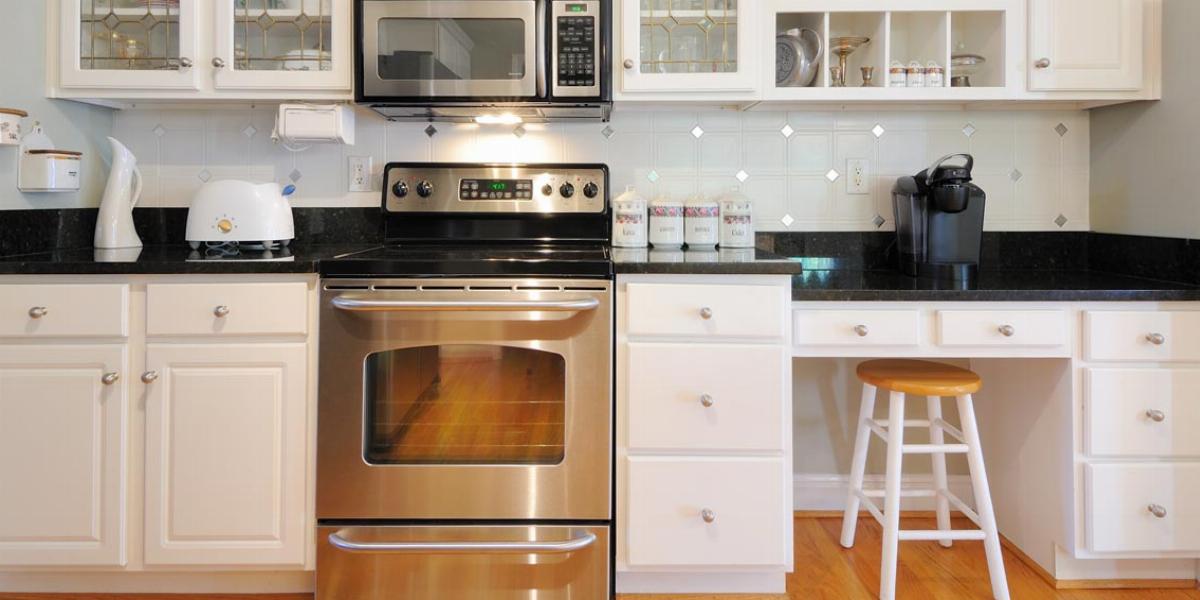
If you need to replace your countertops but want to avoid paying labor costs, installing a laminate countertop may be the project for you. Available in a variety of colors, textures and patterns, you can find laminate counters to fit any design style – from traditional and farmhouse to urban and contemporary. On top of that, laminate is a recyclable, environmentally responsible material.
Formica created the first laminate surfacing materials back in 1913 and today the brand is such a household name that many people call all laminate “formica.” We talked to Gerri Chmiel, Formica’s Senior Residential Designer, to get expert tips on how to install new laminate countertops yourself.
Steps to Install Laminate Countertops
Many manufacturers sell pre-cut laminate countertops, which are the easiest to install yourself. For best results, ask the manufacturer to cut the countertop corners. Miter cuts for inside corners are extremely difficult and best handled by a professional. Your dealer should also be able to predrill the fastening-bolt slots underneath.
Proper measurement is the most important step of any countertop installation—especially if you’re having your counter pre-cut. Ask your countertop supplier if they have specific measuring instructions for your particular design. Then sketch your kitchen, including the following dimensions:
Also note the locations of your sink, stove and refrigerator and include measurements of any necessary cut-outs for quick reference later on. For countertop areas that won’t be fit to the wall, make sure to indicate where laminate end caps will be needed.
Before you bring in the new laminate, you’ll need to remove the old countertop and make sure the area is clear and safe. For detailed countertop removal instructions, check out our related post: How to Remove Countertops.
| Tools | Supplies |
|---|---|
|
|
Now that you have your tools and materials ready to go, let’s learn how to replace your countertops.
If you need to make adjustments to your preformed laminate, grab the sketch with all your measurements and take the following steps for cutting Formica countertops.
Set the countertops in place and test the fit. If you notice a gap along the wall, use a compass to measure the width and scribe a line along the back edge. Remove the new countertop and use a belt sander to sand the edge of the countertop for the best fit.
To attach the countertop to base cabinets, you’ll need to prepare the surface for installation. Check to make sure the cabinet drawers will clear the edge of your new laminate countertop. If not, measure the additional clearance needed. Next, cut buildup strips to install at each corner underneath the counter. Screw down the buildup strips and predrill holes to easily attach the countertop later.
To secure the countertop to the cabinets, position the countertop pieces on the cabinets. Apply a bead of caulk or construction adhesive along the top edge of the cabinets that support the countertop. Lower the countertop pieces into place or remove the shims holding them up. Use a power drill to attach the buildup strips to the new laminate. Double-check the thickness of the countertop and buildup strips to determine the correct nail length to use.
To join the miters beneath the countertop, apply the manufacturer’s recommended amount of adhesive. Install the miter bolts and tighten. If necessary, use a mallet and a scrap piece of wood to tap the seam until even.
Once everything is attached, use adhesive to attach return splashes where the counter meets the walls and end trim to cover exposed edges. If necessary, file any rough edges. To seal the joint between the countertops and walls or your backsplash, use a caulk gun and a matching caulk to make an even line.
First, let’s reinstall the sink. You’ll likely need to make a few cuts to drop it in place.
Now you can bring in your refrigerator, stove and other countertop appliances. And voila – your kitchen countertop installation is complete!
Selecting a new material is often the most difficult aspect of replacing countertops. To help you decide if it’s the right choice, we asked Chmiel for the top four reasons to install laminate countertops.
Benefits of laminate countertops:
Formica countertop installation is a DIY project that makes a big difference in your kitchen.
"Installing a laminate countertop is easier than most because of the relative light weight of laminate counters. Also, your typical homeowner will have the tools needed to install a laminate top, where they won’t with granite or quartz."Gerri Chmiel | Senior Residential Designer, Formica
Ready to replace your laminate countertops yourself? Read on for Formica’s countertop installation instructions.
Now that you’re done installing your new laminate countertops, it’s time to finish up the rest of your kitchen. Whether you want to replace your sink and faucet, add a fresh coat of paint or incorporate the latest kitchen trends, visit the For the Home section of our blog for more tips and tricks.
Are you planning a kitchen remodel? Let us know what projects you’re tackling in the comments below!
