Need a Dumpster?

833-499-7510

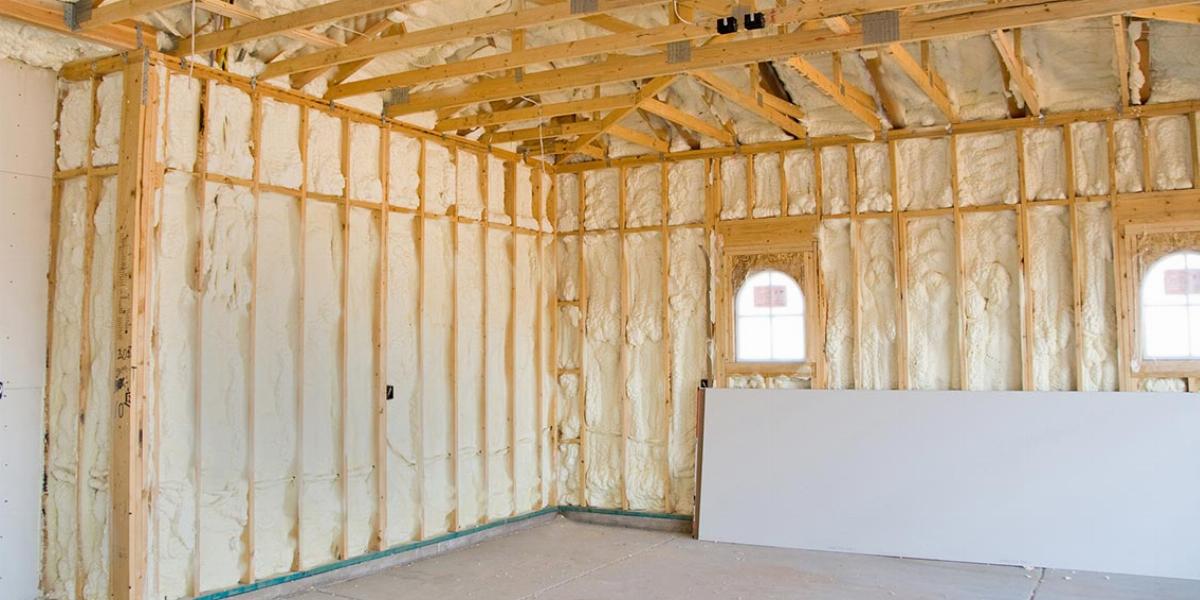
Inside of Garage With Studs Filled With Insulation | How to Insulate a Garage

Garage Insulation Ideas for Year-Long Use

A Step-by-Step Walkthrough to Insulate Your Garage

Are you looking to convert your garage into a usable space? Maybe you need a warmer (or cooler) place to work on DIY projects or you’re building a home gym. Whatever the reason, we collected expert tips from Bryan Sebring at Sebring Design Build to help you learn how to insulate your garage.


Jump To:

Choosing Insulation | Preparation | Wall | CeilingDoor

First, let’s answer your garage insulation questions.

Do I Need to Heat My Insulated Garage?

Before you jump in, ask why you’re insulating your garage. If you’re trying to heat the space, keep in mind that insulation alone may not be enough. Depending on where you live and how cold it gets, you’ll also want to use a heating source for the room. Insulation simply helps to contain the temperature, whether hot or cold, and prevent it from escaping through the walls and ceiling.

How Much Does It Cost to Insulate a Garage?

Garage insulation costs vary based on the size of the space and the insulation you purchase. Sebring estimates it costs about 50 cents to $1.25 per square foot to insulate a garage. This means insulating a two-car garage would cost about $338 - $845.

What Type of Insulation Should I Use?

There are several different types of insulation you can use, but Sebring recommends using fiberglass insulation sold in rolls or batts (precut sections) to insulate your garage yourself. He says this is the easiest DIY choice.

Advantages of fiberglass insulation rolls and batts:

  • Easy to handle and use between framing.
  • Can be used in all areas – floors, walls and ceilings.

If you’d prefer using any other kind of insulation, he suggests hiring a professional. Some materials are harder to find, more expensive and require more experience to install.

Insulation Type Disadvantages 
Rockwool batts and blankets
  • Not widely available.
  • Retains moisture.
Cotton batts
  • Not widely available.
  • Pricier than other batts.
Loose-fill fiberglass
  • Loose application may cause it to lose up to half of its effectiveness.
  • Requires a special machine for installation.
  • Can be difficult to install in some spaces.
Loose-fill cellulose
  • Could be too heavy depending where it’s used.
  • May require additional work, like drywall and framing.
  • Can settle over time, reducing effectiveness.
Polystyrene structural insulated panels
  • Must be cut to fit around pipes, outlets, etc.
  • Not structural – can’t nail anything to it.
  • Insects and pests can tunnel through.
  • Air-tight – may need fresh-air ventilation to meet safety and building codes.
Polyisocyanurate structural insulated panels
  • Expensive
  • Foil is a moisture barrier, should not be used where there is already a moisture barrier


What Is Fiberglass Insulation?

Fiberglass insulation consists of extremely fine glass fibers with a paper face on top of it. It is often sold in rolls or bags and looks fluffy.


Roll of Fiberglass Insulation | How to Insulate a Garage

Fiberglass insulation comes in different R-values. According to The Home Depot, R-value measures how well certain building insulation materials resist heat. Therefore, the greater the R-value, the greater the ability to insulate.

Which R-Value Should I Use?

  • Most older homes were built with 2x4 studs. (A stud is a vertical framing piece in a wall. It’s also often referred to as a 2x4.) For these, use R-13 insulation.
  • Some newer homes (built in the last 10-15 years) were built with 2x6 studs. These require R-21 insulation.
  • Use R-40 thick insulation for the ceiling.

*Special thanks to Bryan Sebring from Sebring Design Build for sharing his expert tips on suggested supplies and the following step-by-step process.

Everything You Need to Insulate Your Garage

We can recommend which type of insulation to use and how to install it, but you’ll need to determine how much of each material you’ll need for your particular garage. Below are some guidelines for determining the quantity or type you’ll need of each material.

Gather the Tools You’ll Need to Complete the Job

How to Insulate a Garage Wall in Four Easy Steps

Step 1: Clear the Walls for the Insulation

  • If your garage has drywall, remove it. Consider renting a residential dumpster to toss it away.
  • Make sure to clear up any dirt and clear out the stud cavities. 
  • Look for mold and clean up any chemicals in the garage, like gasoline or fertilizer. Find your nearest hazardous waste collection center to safely dispose of these materials.
Find Dumpster Services In Your Area


Step 2: Look for Gaps and Cracks in the Wall

  • Get your expanding foam and vigorously shake it for about one minute.
  • Attach the straw to the can and hold it upside down to spray it in the openings.
  • Only fill gaps about 50 percent full. The foam will continue to expand and fill the space.
  • Give it about five to 15 minutes to continue expanding and become tack-free. It should be completely cured - or hardened – in 8 hours.

Step 3: Install Fiberglass Insulation

  • Staple the paper face of the insulation to the side of the stud, NOT the face of the stud. You’ll need to leave the face of the stud exposed to install the drywall on top of the insulation.
  • Put a piece of wood on top of the insulation to use as a guide to cut the insulation to the right size.
  • Use a utility knife to cut excess insulation so it fits the size of the stud.
  • Tuck the insulation in to make it easier to staple.
  • Staple the insulation all the way down the side of the stud.

Step 4: Cover the Insulation with Drywall

  • Screw and glue drywall to the stud. Do not leave the paper of the insulation exposed. This is a fire hazard.


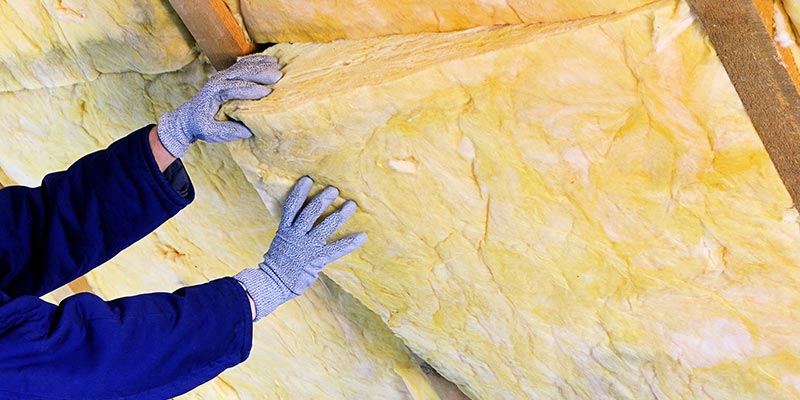
: Hands Installing Insulation in Garage Ceiling | How to Insulate a Garage

How to Insulate a Garage Ceiling

Insulating the ceiling of your garage involves the same process as insulating the walls. Just remember to use thicker R-40 insulation.

Safety Tip: Measure the height and width between the framing in the ceiling and pre-cut the pieces you’ll need. This will help while you’re up on the ladder. 

Insulating the ceiling is the most important part of the garage because heat rises and escapes through the roof. Similar to wearing a hat in the winter, you need to make sure the top of the garage is protected to trap the heat in. 

How to Insulate a Garage Door

Insulating a garage door can be more involved than insulating the walls and ceiling. The easiest option is to buy an already-insulated door. If you’d prefer to cut costs and stick to the DIY option for insulating a garage door, we recommend buying a garage door insulation kit. The process should be fairly similar to insulating the walls and ceiling.

Keep in Mind: When you insulate the door, you’re adding weight to it. You many need to change the springs to retain tension and balance so that it stays closed properly. This is why it may be easier to get an already-insulated door or have a professional help you. 

get more tips and tricks with our email newsletter


Shut the Insulated Garage Door on Outside Temps

Now that you’ve insulated your garage, you’re ready to complete the transformation.

For more DIY projects or home update ideas, check out our DIY vs. pro project comparisons post.


What do you think?

Have thoughts on this topic? We’re listening. Head over to Twitter or Facebook and use #dumpstersblog to join the conversation.