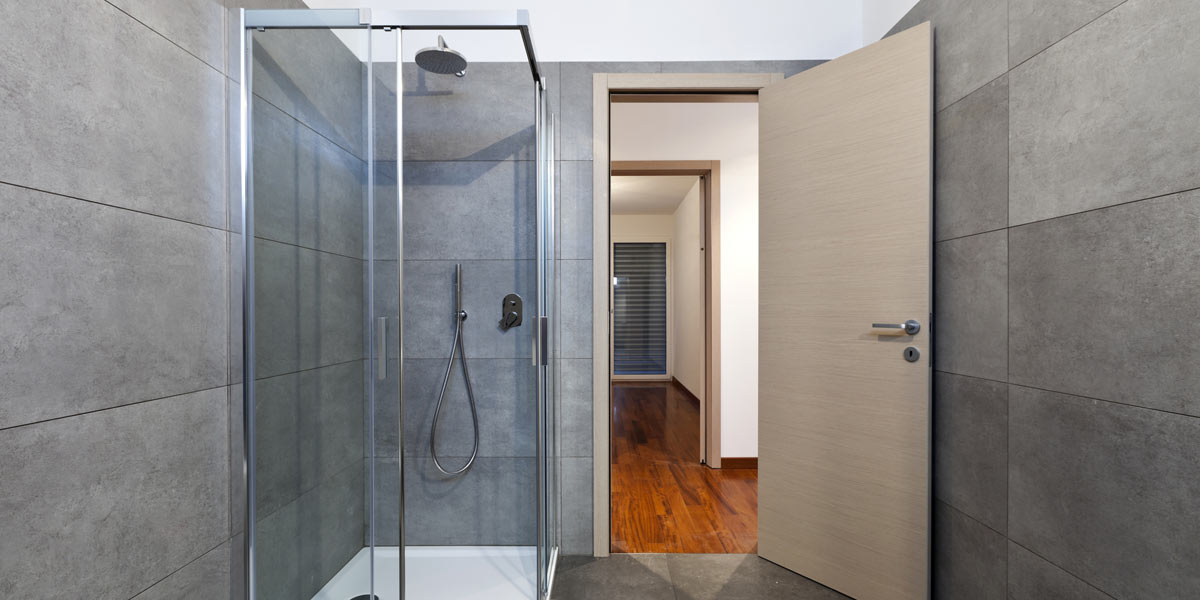
So, you want to remove your shower. Whether it’s made of tile, fiberglass or another material, demolishing a shower isn’t as hard of a task as you might think. Our guide walks you through the ins and outs of removing a shower — from step-by-step instructions for removing fixtures, door frames, shower heads and drain pans to specific advice to demolish tile and fiberglass walls.
PROJECT DIFFICULTY RATING: Intermediate
Steps to Demo Your Shower
Showers need replacing from time to time, whether your shower is starting to show its age or you want to swap to a different wall material. Whatever your reason, the steps to demo a shower are easy enough to DIY.
Before you can get started, gather all the appropriate tools. Luckily, everything you need is part of your standard tool kit.
|
|
|
|---|---|
|
|
It's also important to plan for waste removal because, no matter what size space you're renovating, debris piles up fast. Unfortunately, most cities don’t accept construction debris curbside. In the rare instance that they do, it’s often considered bulk weight due to the weight of the debris, meaning you might have to wait a few weeks for collection. If you want to clean as you work and get the debris off your property as soon as you’re done, consider renting a dumpster.
Next, get the bathroom ready for the mess you’re about to make. Place floor coverings directly outside of the shower and on countertops or other surfaces to protect from dust — shower removal can be very messy.
Once that’s done, it’s time to shut off the water. There are two spots in the bathroom where you can turn the water off: the valve leading to the shower or the valve leading to the bathroom. If you can’t access either of those spots, you’ll need to shut off the main valve. It’s near the water company meter and often located in the basement or by the hot water tank.
Pro Tip: After the water is shut off, you need to relieve the pressure in the pipes. Do this by turning on a faucet on a lower floor or one that is closer to the main valve.
Now that you’ve done all the prep work, it’s time to put on your goggles and gloves and start demolishing the shower, beginning with the door and frame.
There are two standard door types: hinged and sliding. To remove a hinged door, simply unscrew the fasteners that connect to either the wall or frame until the door is detached.
To remove a single or dual sliding door system, grab the door on both sides and lift it up until you can swing the bottom of the door out of the track. Then, tilt the door until you feel the wheels slip from the upper track. You can then remove the door and place it to the side, repeating the process on the second door if necessary.
If you have a shower/tub combo, this step is easy - simply remove the shower curtain and hooks.
Once the door is off, it’s time to remove the shower door frame. This can be accomplished in four easy steps:
Get rid of any fixtures that would impede removing the shower walls. Most common items like soap holders, towel racks and drain covers can be detached with a screwdriver and utility knife to remove any caulk or adhesive holding the items in place. The two items that can be more complex are the shower head and water controls. They involve a bit more work simply because they connect directly to the piping.
Nice work. Your shower is now in its most basic state — three walls, a floor and a couple of pipes. Now comes the hardest part: removing the shower walls.
There are two main types of walls, each requiring different demo methods. Don’t worry. We’ll go into detail about how to remove both tile and fiberglass shower walls.
Pro Tip: If you still aren’t sure this is a job you should tackle after reading our guide, consider hiring a contractor.
Keep your bucket, hammer, pry bar, utility knife and reciprocating saw handy as you prepare to demo your tile shower walls. Also, if you haven’t been using your goggles, dust mask and gloves, you’ll want to slip them on for this as there will be sharp edges and flying pieces of tile.
Grab your reciprocating saw and hammer and get ready to make a mess.
One last step before your shower demolition is complete. As with the walls, there are two types of shower floors that you may have: fiberglass and tile. Since fiberglass is the most common shower pan you’ll need to remove, we’ll focus on that material here. If your floor is tile, we have you covered with our step-by-step tile removal tutorial.
If you have a shower/tub combo, use our guide to remove your bathtub.
Now that your shower is removed, what’s the next step? Whether you’re putting a new shower in the spot, converting to a tub or just completing a step in your total bathroom renovation, getting one of the biggest items in a bathroom removed is a great step towards the bathroom you’ve always wanted.
Need some guidance on other bathroom demolition projects? Check out our step-by-step instructions on how to demo a vanity and toilet removal to keep your project moving.
Recommended reading: How to Demo a Bathroom
