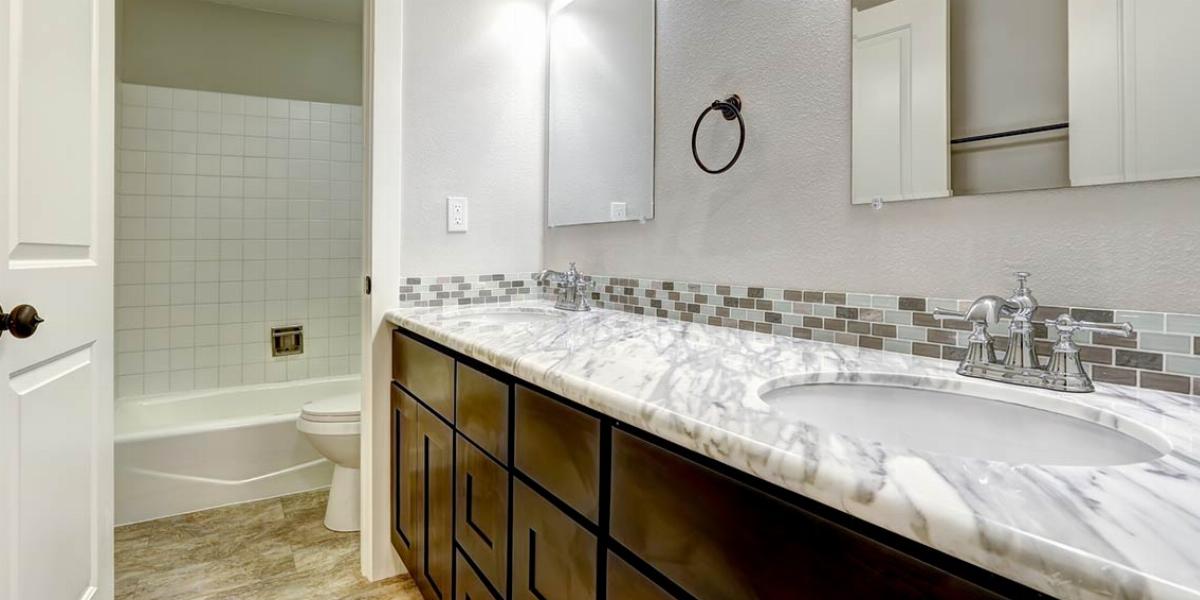
Whether your vanity is cursed with too little counter space, suffers from cramped storage or is still begging for mint green tile to come back in style, replacing it is probably in your bathroom remodeling plans. Removing a sink is simple enough for someone with a little DIY savvy, but to make sure everything goes according to plan we broke it down step-by-step with help from Mike Bowman at Trade Winds Imports.
Before you start replacing your bathroom vanity, you need a plan for what to do with all of the debris.
If you're careful, most sinks and vanities can be donated or resold. Free-standing vanities are easier, as they don't require a complicated removal process, but even if you have a wall-mounted version, you can often salvage the entire piece.
Here are a few stores that will accept vanity donations:
On the other hand, if your vanity is damaged, it may be best to toss it. With all of the hardware and bulky items, most vanities can't be left out at the curb, especially if they are part of a larger remodeling project. Renting a small 10 or 15 yard dumpster will do the trick for all of your construction debris.
Once you've decided on your disposal option, it's time to gather your materials.
| Tools | Safety Gear |
|
|
According to Mike Bowman, there is a typical "order of operations" for this task:
When demolishing your bathroom, you'll need to work in reverse order. Meaning that the last item installed should be the first thing to go.
"In almost all cases, the mirror goes first. This is for the simple reason that in most bathroom builds, the mirror is installed after the cabinet and fixtures."
Mike Bowman | Trade Winds Imports
Once the mirror is loose, carefully carry it out of the bathroom.
After the mirror has been taken down, it's time to tackle your tile and backsplash. Follow these steps to safely remove your wall tile.
Note: If your bathroom sink and vanity top are one piece, skip down to the next step.
Once you've cleared up the debris from removing the backsplash, it's time to start work on the vanity itself.
First, you'll need to remove any clips that fasten the sink to your vanity's countertop and cut away any sealant and caulk with a utility knife.
Next, carefully lift the sink straight up from the counter. Sinks can be extremely heavy, so if you aren't sure you can manage the task by yourself, grab a helping hand.
With the sink gone, it's time to get rid of your old vanity top.
"The back of the cabinet is often secured to studs in the wall, so you'll want to unscrew those first," explains Bowman. Built-in and wall-mounted vanities often have caulk adhering them to the drywall and floor. After removing the screws, use your putty knife to cut through the caulk and slowly pry your vanity away from the wall.
Now that you've successfully removed your bathroom sink and vanity, it's time to find a new piece that will complete your space. There are two important factors to keep top of mind when choosing a vanity: size and style.
"If you're getting rid of an old vanity and want to replace it with one of the same size, make sure your measurements of the old vanity include any width beyond just the cabinet. We always stress to our customers that it's better to have a vanity that's a little too small than one that's too big, and that they should take all dimensions into account."
Mike Bowman | Trade Winds Imports
Unsure what you want your new vanity to look like? Take a look at the metal finishes in your home and try to find a vanity with a matching style. Bowman recommends going with a "transitional" look as they fit into most designs and won't go out of style any time soon.
Ready to take on your next bathroom project? If you're feeling up to the challenge, check out our posts on how to tear out your tub and convert it to a walk-in shower.
