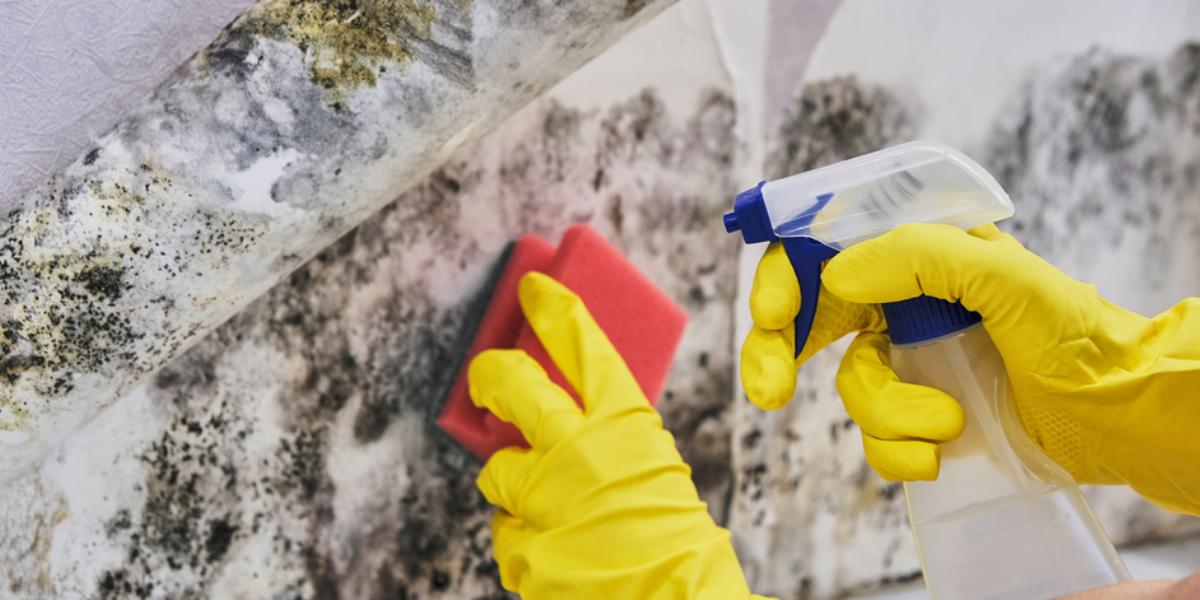
Floods damage thousands of homes each year, wreaking havoc not only on the structure but on personal belongings as well. Without a proper cleanup, mold and bacteria can cause even more damage down the road. But take a deep breath and pull on some rubber gloves - there's plenty you can do to reclaim your home.
If your house has recently been hit by a flood or other severe water damage, follow these steps to lessen the damage and get back to your normal routine.
Document the Damage
Contact your insurance company before you start any cleanup efforts. Take pictures of the affected areas, including damage to furniture, clothes and appliances. This will help substantiate your insurance claim.
Get the Water Out
Once you've documented the initial damage, rent a pump to clear out any remaining standing water. If there isn't much left, you can use a dehumidifier along with fans and your heating system to dry out the remaining puddles.
Pro Tip: Try to clear out flood water within 48 hours. Experts say this will help avoid severe damage and dangerous mold growth.
Gather Your Supplies
Next up on the task list is to gather all of your necessary supplies at once to avoid making extra trips to the store during your flood cleanup.
|
|
|
|
|
*Necessary depending on wall damage.
Pro Tip: Take pictures throughout your flood cleanup to document how much you had to throw away and what was able to be saved. These photos will be important for future insurance claims, so keep them for your records.
Once the standing water has been pumped out, grab your boots, gloves, shovel and trash can. Use the shovel to toss any dirt the flood left behind into the trash can to carry out of your home. You can either dump it into your yard or into a dirt dumpster for disposal.
Pro Tip: Remember that wet dirt and mud can be extremely heavy. Fill your trash can about half full so you can comfortably move the dirt outside without the pain of heavy lifting.
Unfortunately, not everything can be saved after a flood hits your home. Due to the risk of mold or mildew, most upholstered furniture will need to be tossed in your dumpster, along with any mattresses, box springs and pillows.
Wood furniture may be salvageable, depending on how deep the water stood and how long it was inside your home. Check your wood furniture to see if it was structurally weakened by the water. If so, it will need to be thrown out as well.
Set up an area in an unaffected part of your home – or outside – where everything in good enough shape to keep can dry thoroughly. Use an approved furniture cleaner and a clean cloth to wipe down each piece thoroughly. Once they have been cleaned, set them in your designated zone to dry and wait until the rest of your flood cleanup is complete.
All curtains should be taken down, washed and bleached (if possible) to disinfect them from polluted flood water. Rugs and other items may need to be sent to a professional cleaner. If they have been ripped or you want to avoid the hassle of finding a reputable cleaning service, you can toss rugs and carpets in your dumpster.
Carpeted floors often can’t be cleaned after a flood. Water soaks quickly down to the carpet pad, and can damage your subfloor if not removed quickly. Wood or laminate floors that are warped should also be torn up and tossed.
Depending on which flooring type you have you’ll need to follow one of the following sets of instructions.
To Tear Out Wood or Laminate Flooring:
Once you’ve removed the damaged flooring, inspect your subfloor for any damage or structural issues. It’s always best to call in a professional if you suspect there’s a problem.
Take a look at your walls to see if there are any bubbles or soft areas from water damage.

“Salvaging drywall after a flood takes time and equipment. I recommend starting with a moisture meter so that you don’t overlook any hidden dampness. Set up heavy-duty fans and a large dehumidifier and seal the area as tightly as possible. To speed up the drying process, pull off baseboards and trim, drill holes and run the equipment for three days.”
Diana Rodriguez-Zaba | Owner, ServiceMaster Restoration by Zaba
After three days have passed, Zaba recommends checking the walls again with a moisture meter. “If readings stay in the meter’s green zone, prep affected areas with an alcohol or oil-based primer and repaint your walls.”
If only small sections of your walls are damaged, you may be able to cut away the affected areas and salvage the rest. Depending on the age of your home, you may have plaster walls instead of drywall. Follow these instructions to remove sections of each kind of wall as a part of your flood cleanup.
To Remove Parts of a Plaster Wall:
To Remove Sections of Drywall:
Pro Tip: If walls have water spots near electrical units, call an electrician to check that there are no hazards or wiring issues.
One of the most important steps in cleaning up after a flood includes disinfecting and wiping down everything in the affected room(s). Dilute two tablespoons of bleach with one to two gallons of water in a bucket to wash down walls and prevent mold growth. Be careful not to over saturate the surface: use a stiff-bristled brush or wring out your towel before each use.
If there is mud or dirt on the walls, don’t sweep it up dry. Dust left behind from a flood can contain harmful bacteria. Instead, mist down the area and collect the residue with a wet/dry shop vacuum.
Pro Tip: Do not mix bleach with any other disinfectant or cleaning supplies. This can cause a dangerous chemical reaction. Stick to using one at a time.
Before you bring any items back into the house, ventilate the clean room. Keep windows and doors open if possible and run fans to ensure everything dries thoroughly.
Once your home has been properly cleaned out after a flood and water damage, it’s time to bring in a professional to assist with the repairs. Unless you’re an experienced DIYer, a general contractor should handle installing new flooring and walls or inspecting for structural damages. You’ve done the heavy lifting of your flood cleanup, so let the pros take it from here.
Think you can manage some of the repair work yourself? Head to the DIY section of our blog for step-by-step project guides and inspiration.

