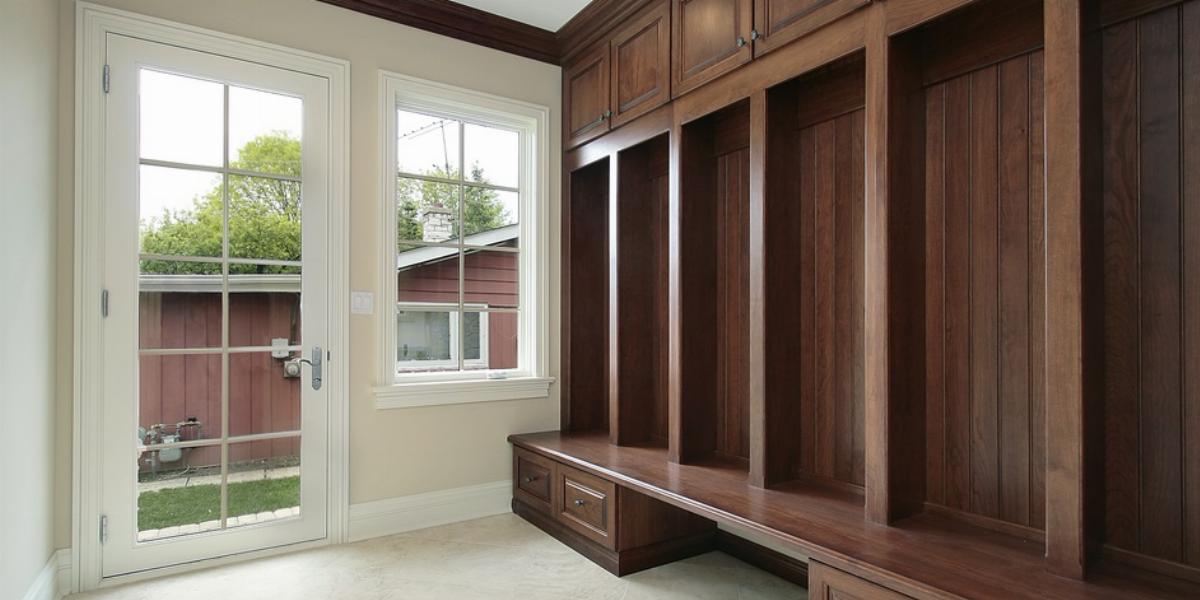
The entryway to your home is often a dumping ground littered with shoes, backpacks, umbrellas and more. If you use something daily, it's most likely stashed somewhere by the front door.
At first glance, a coat closet seems like a reasonable place to hide the clutter. But more often than not, it's already stuffed to the brim. A great alternative may be to convert your crowded coat closet into a 'mini' mudroom. We know what you're thinking, but turning your catch-all closet into a functional space with plenty of storage is easier than you think.
Steps to Build Your New Mudroom
There are plenty of closet mudroom ideas out there, but some may fit your space better than others. Decide what your mudroom needs to make it work for your particular type of entryway clutter. For example, if shoes always pile up at your door, focus on finding a shoe organizer for your mudroom. Keep your closet's dimensions in mind: do you have room for a small storage bench or is a classic shoe organizer a better fit?
Before starting a closet-to-mudroom remodel, clean everything out of the existing closet space. Start at the bottom of the closet and work your way up to the hanging items. This will free up room quickly and show you what you have to work with.
Get rid of items you don't use and coats that no longer fit by creating a donation and trash pile. If you come across anything damaged or broken, toss it in the trash pile. Once you've taken everything off the closet shelves, wipe them down.
Now that you know what you're keeping, group related items together and use a sorting system of bins or baskets to keep it all organized for later.
Have these tools on hand before you begin.
| Tools: |
|---|
|
If you don't plan to keep your existing shelves and clothes rod, remove them using the screwdriver.
To freshen up the space, sometimes all it needs is a few coats of paint. Choose a light paint color to create the illusion of more space. Beadboard and wainscotting are popular options in mudrooms because they are easy to clean and protect the walls from knicks and scratches.
Traditional mudrooms include benches where you can sit to put on or take off your shoes. A multi-purpose piece of furniture is a better choice for your closet mudroom. If you're purchasing a prefabricated bench, look for options that include built-in shoe storage, either open facing or with drawers. Or you can build your own custom bench to fit your unique space. Start by measuring the longest closet wall and use that to determine the right length of wood you'll need.
Using a level, carefully mark where your shelves and hooks will be installed. Keep in mind that hook heights should accommodate both long and short coats.
Your mudroom should function as a catch-all area, so account for all the items you need to store in that space. For example, if you will only need space for a few coats, shoes and bags, you might install two levels of hooks for coats and bags while leaving room for a storage bench where you can keep your shoes. You could also install a high shelf for extra storage when needed.
Pro Tip: Install hooks and shelves only along the back wall of your closet. Using too many can make your mudroom feel cluttered, which is the opposite of what you're aiming for.
No closet mudroom is complete without proper storage. You'll want all your items to complement each other, so remember to purchase matching baskets or bins.
To figure our how many to buy and what sizes you need, take a look through the items you sorted in Step 2.
Once all your storage pieces have been installed, it's time to organize your belongings. Be sure to keep like items together: one basket for pet supplies; another for hats and gloves. See what you use the most, what you don't use at all, and adapt over time. If you're looking for more DIY mudroom ideas, add more shelves, take out a few hooks or maybe add a faux countertop that folds flat against the wall when not in use.
