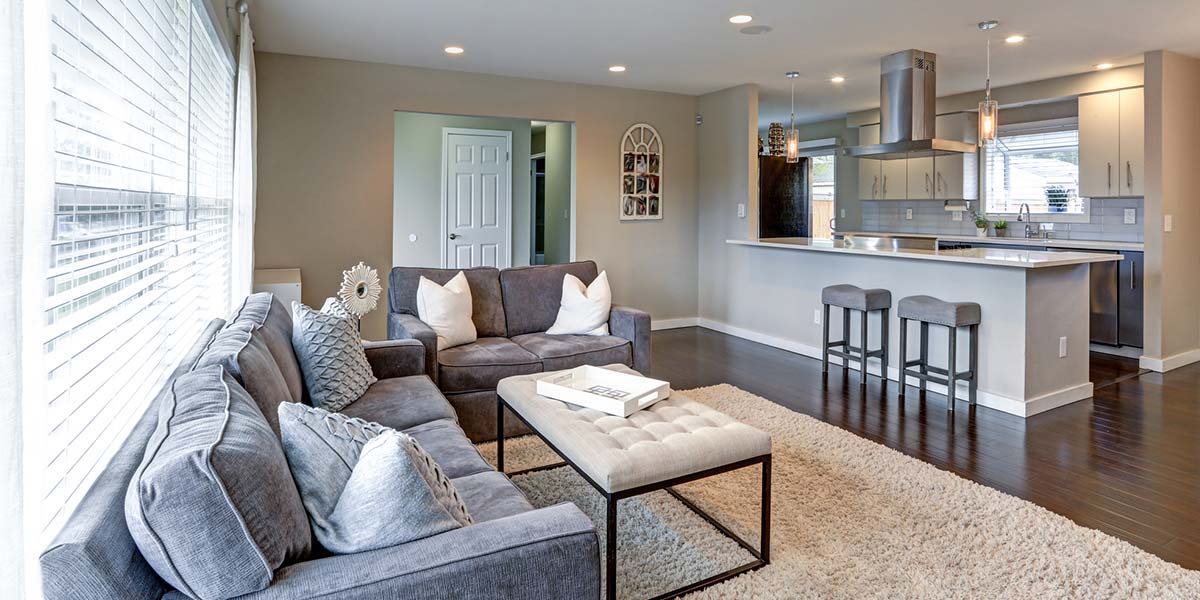
If you’ve been daydreaming about having a clear view from your kitchen into your living room, removing a wall may be your next home project. This job takes some research and careful planning, so you should set aside at least a week for the preparation, demolition and repair.
Here’s what you need to know about creating an open-concept floor plan.
Removing a wall can cost anywhere between $300 and $10,000 depending on the scope of the entire project. Non-load bearing walls run between $300 to $1,000 according to HomeAdvisor.com. Cost factors include the size of the wall, expert advice and repairs to your ceiling, floor and adjacent walls post-removal.
If your wall is load bearing, tearing it down is a bigger job in a few ways. It will cost you between $3,200 and $10,000 or potentially more, depending on the scope of the job and if your home is multi-level. In most cases when removing a load bearing wall, you will have to replace support from where the wall was with a horizontal structural beam or a horizontal structural beam and post. This should not be done without professional assistance.
Identifying if the wall you want to knock down is load bearing is the most important step before beginning this project. If it’s a load bearing wall, consult with a structural engineer to ensure you are going about the project safely.
Before you start demolition, make sure you have all the necessary tools and safety gear on-hand.
Tools and Equipment Needed to Remove a Wall |
|
|---|---|
| Tools: | Safety Gear: |
|
|
Once you have everything you need to start your project, it’s time to get to work. Following these steps to get ready to remove that wall:
Now is the time to figure out what’s inside your wall and safely prepare to knock it down. Walls that contain HVAC vents, plumbing or electrical should be removed with caution.
If your wall has an electrical outlet, hire an electrician. Hiring a professional is usually the safest option. This also applies to any piping or ventilation in your walls. Have a contractor to eliminate, move or cap off any utilities to avoid damage or code violations.
Safety Tip: If your home was built before 1978, make sure to take proper precautions to assess your walls for asbestos and lead paint.
Once you’ve determined your wall isn’t load bearing and doesn’t have any important plumbing or electrical running through it, the fun part begins – demolition.
Pro Tip: Cut sections that you can remove in large, single pieces. And to save yourself from a tripping hazard and cleanup later, take them out to the dumpster as you remove.
Cut through the studs at the bottom of the wall with a reciprocating saw. Ask one of your volunteers to help by holding the stud in place as you cut. Once you have cut through the stud and nails, pull it out.
When all the studs are gone, you'll need to remove the top and base plates. Use the pry bar to remove the top plate first. Have your helper hold the top plate in place so it doesn’t fall, and repeat the same process to get rid of the base.
Now that you’ve cleared the way, it’s time to start bringing your space together.
Pro Tip: Repaint your whole ceiling to guarantee a cohesive appearance.
For either of these repairs, to make sure your flooring looks seamless, consider hiring a professional for the job.
Pro Tip: If you plan to redo your floors, pick the best flooring option for your family in the new open space. There are many options for family-friendly floors that hold up over time. Hardwood, carpet or bamboo are some of the popular options to consider.
Removing an interior wall can totally transform a space by allowing more natural light to shine through and making your home seem larger overall.
Need to organize your new open space? Stop clutter in it’s tracks with these 6 clutter-free living ideas.
