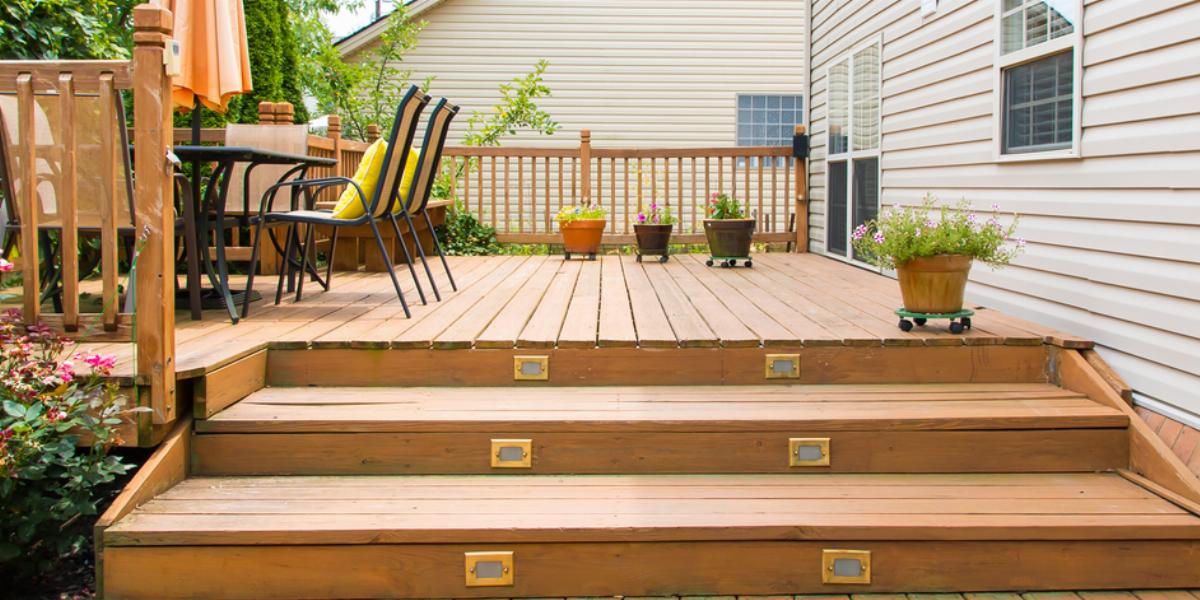
A well-maintained deck can be the focal point of your backyard. But if your wood deck is looking a little worse-for-wear, it may be time to tear it down. Getting rid of a worn or broken deck opens up your landscaping to endless possibilities.
“A savvy homeowner can usually save money by removing the deck themselves, and spend the money they save on building a new one.”
Matt Weber | Editor-in-Chief, Extreme How-To
Feeling up to the task? We’ll walk you through tearing down your wood deck with the help of Matt Weber from Extreme How-To.
“Demolishing a deck entails a lot of work,” says Weber. “Detaching the boards and framing is only half of the battle, and disposing of all the waste material can present a major challenge.” So, before you start the tear-down, it’s important to familiarize yourself with how your deck is constructed and how much debris you’ll need to get rid of.
Then, gather your tools and safety equipment. “Wear gloves and eyewear when demolishing a deck to shield from splinters, nails and flying debris,” explains Weber.
|
|
||
| Tools |
|
|
| Safety Equipment |
|
|
After you’ve got all the equipment together, let’s move on to the demolition steps.
Working from one end of your deck to the other, remove the screws - or pull out the nails - that hold the handrail in place.
Once you detach the handrail, begin to remove the balusters. Take out the screws or loosen the balusters by working them gently back and forth.
After the top of the rail and the balusters are gone, you can disconnect the bottom rail in the same way.
Starting at one end of the deck, remove the screws to lift up each board. If they’re nailed down, use a pry bar instead. This step can be relatively time-consuming, and depending on the size of the boards, you may need to use a saw to cut them into more manageable pieces. Then, carry the boards to a dumpster for simple and efficient removal.
Safety Tip: “The risk of falling during demolition is probably the greatest concern. This risk increases once the deck’s handrail has been removed, and increases even further once the deck boards are gone and all that’s left to stand on is a series of narrow 2x joists. Depending on the location of your deck, mitigate these risks by doing as much work as possible from the ground. When you need to work atop the exposed floor joists, use sheets of plywood as a makeshift work platform.”
Matt Weber | Editor-in-Chief, Extreme How-To
Once your deck boards are out of the way, follow a similar process to get rid of the treads and risers for the steps. Use a pry bar to lift the treads, then, after all the treads are gone, cut the risers and stringer into small pieces that can easily be carried to the dumpster.
Pro Tip: Remember to clean up as you work! Toss pieces of the deck into your rented container to avoid having a huge pile to move when you’ve completed demolition.
If your deck is not attached to your home, skip down to the next step.
Starting from one end, use a saw to cut the frame off of the ledger board that’s fastened to your house. Slowly – and carefully – make your way to the other side. As you cut, the weight of the deck will naturally start to pull away from the house.
Once the frame is detached, remove the ledger board.
Pry the decking joists away from the frame. If the joists are large and hard to remove, pound them loose first using a large sledgehammer.
Dig up soil around the deck posts with a shovel in order to loosen them. At the base of each post, there should be a concrete support used for stabilization. Break apart the concrete using a sledgehammer if the pieces are large or too difficult to move. Once each base is loose, lift it carefully out of its spot.
Pro Tip: If you have access to a skid steer or similar piece of equipment, you can use this to remove the concrete bases instead.
Now that the support beams are out of the ground and the last piece of wood has been tossed in the dumpster, your deck removal is complete. Just don’t forget to call to have your dumpster picked up.
Need to tear up more than just your deck? Whether you need to remove your old concrete patio or re-do the paver walkway around your lawn, let’s make your yard the envy of the neighborhood.
Looking for more backyard inspiration? We’ve got you covered. Check out our collection of outdoor posts and DIY ideas that will help you tackle your next project.


