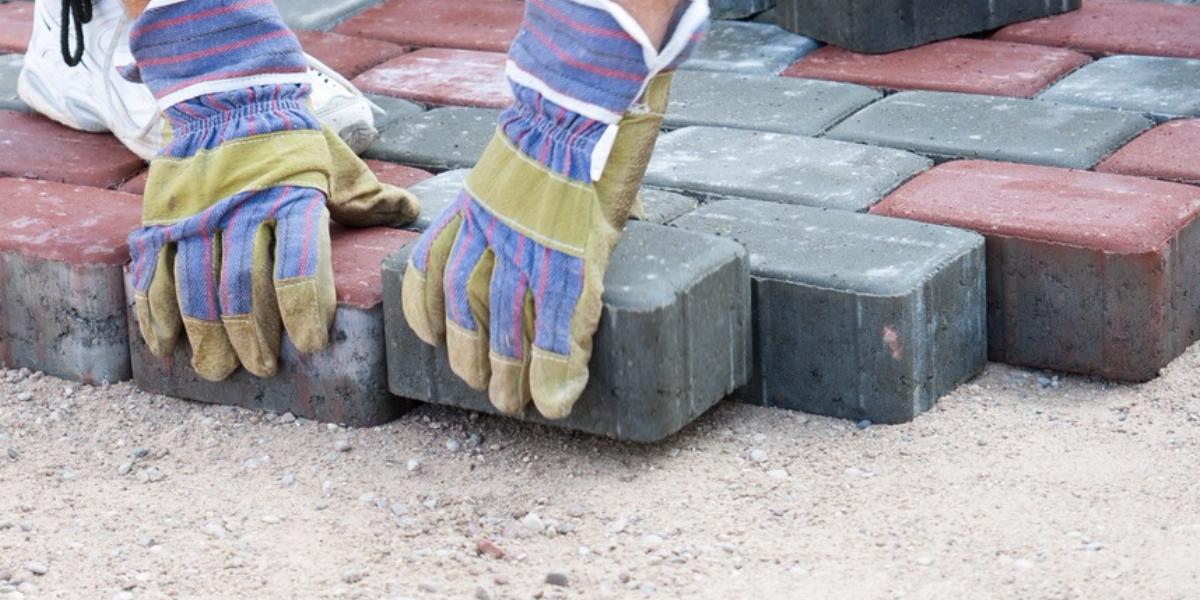
There’s still plenty of time to enjoy your backyard before the temperature starts to drop (especially if you’re lucky enough to live in the south or out west). If you’re tired of looking at a worn-out patch of grass serving as a makeshift path, install a paver walkway as your next weekend project.
"While you can hire professionals to install your backyard pavers, it's definently a DIY project that most homeowners can handle."
Jill Canty | BuildDirect
Pavers continue to grow in popularity and are commonly used for walkways and patios because of their versatile colors and design schemes. Given the variety of brick or stone colors, shapes and patterns to choose from, there’s sure to be one that complements the exterior of your home.
So, let's get to work.
"If you're starting from scratch (not just replacing old pavers), you may need to rent mechanical equipment that compacts the soil to create a level surface."
Jill Canty | BuildDirect
Materials You'll Need:
The first – and most important – step is deciding where your walkway will go. If you’re replacing an existing concrete path, use a jackhammer to break up the material and rent a concrete dumpster to get rid of the debris quickly. While designing your new walkway, keep in mind that curves in the path will require you to cut multiple bricks. If that puts the project a little outside your DIY comfort zone, stick to straight lines.
Decide how wide and long your walkway needs to be. Then, carefully measure and place stakes at 2 to 3-foot intervals on both sides along the length of the path. Once all the stakes are in place, use twine to connect them to form edge lines.
Being mindful of your edge lines, dig about 8 inches down throughout the length of your walkway. Use markers along the edges to help keep it as even as possible. Any small differences in depth will need to be leveled out with filler material.
After the dirt is removed, place about 4 inches of gravel and tamp it into place to form a level surface. This is a crucial step that ensures the gravel is firmly in place to prevent pavers from moving as the stones settle.
On top of the gravel, pour in 2 inches of concrete sand and tamp it down into place. The sand should be smooth and level at the end of this step.
There are plenty of paver styles and colors to choose from: plain brick to match a craftsman home, cobblestone for a traditional colonial-style house or specific colors that complement your home’s exterior. Once you’ve selected the color, shape and material you want to work with, it’s time to set them in the foundation.
"Make sure your base layers are perfectly level before you start placing your pavers. Generally, you'll want a gap of about 1/16 to 3/16 of an inch between pavers."
Jill Canty | BuildDirect
Pro Tip: To accommodate curved edge lines, you'll need to carefully measure, mark and cut your pavers to fit. When using a diamond-edge saw to make precision cuts remember to always wear safety goggles and follow recommended safety guidelines.
Install one complete edge of pavers first so you have a fixed line to work with. If you have a specific pattern you are laying the bricks in – herringbone, for example – work from start to finish off of your edge line. Don’t push the bricks into the sand, but rather lay them gently on top of it. You’ll secure them in place in the next step.
Once the pavers are all in position, sweep dry sand into the gaps to hold them all in place. You may also want to add dirt along the edges for extra support. Keep in mind that you should replenish the sand over time, especially after a few heavy storms.
With these steps and your savvy DIY skills, it’s time to get to work on your next outdoor project. Now that you have a new paver walkway, you might want to consider updating your landscaping to complete the look.
