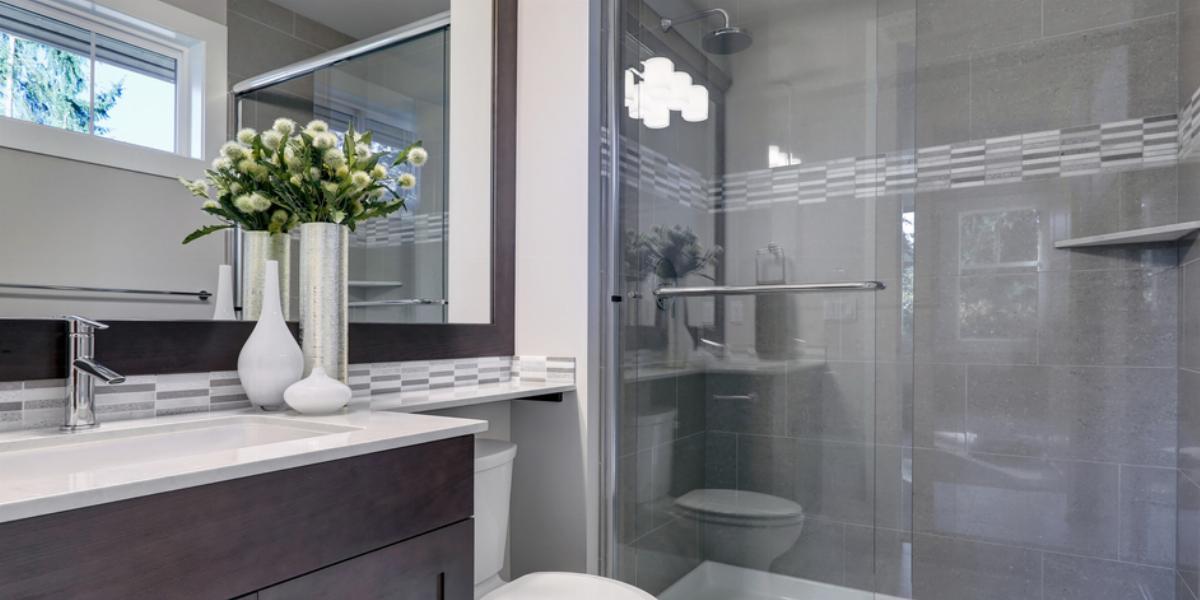
Converting your tub into a shower transforms a cramped bathroom into a more spacious and modern area. The easiest way to complete this job is with a DIY conversion kit. We'll walk you through how to take measurements, how to pick a model kit, then how to handle demolition for your shower conversion.
And if you've been thinking about shower conversion for a while, you're not the only one. The American Institute of Architects conducted a Home Trends Survey that showed 54 percent of homeowners prefer a walk-in shower instead of a bathtub. So, converting your tub to a shower is a way to potentially increase your home's resale value.
Feeling confident in your DIY skillset? Read on to find out how to convert your bathtub into a shower yourself. If not, you may want to hire a contractor to handle the project.
If you are getting rid of the only tub in your house – and have plans to sell in the near future – most realtors would advise against this project. According to Realtor Magazine, most homeowners want at least one tub in the home, especially if they have small children.
The overall cost of your tub to shower conversion will depend on what kit you buy. Shower conversion kits are the easiest option for a DIYer to install and they contain all the items necessary to build a shower floor slope, including the curb, guards and shower pan liner. Kits range in price from about $200 to $2,000 depending on what style you want. You’ll also need to budget for a liner, hardware and any new tile and grout you’ll need.
If you have leftover tile from a previous homeowner or builder, you can save on this material cost. But if you need to purchase new tile for the shower, it’s important to set a realistic budget. Here are the standard costs for common shower tiles.
|
|
|
| Ceramic and Porcelain | Ranges from $0.50 to $15 per square foot. |
| Granite | Ranges from $3.50 to $7 per square foot. |
| Marble | Ranges from $5.00 to $50 per square foot. |
| Polished Stone | Ranges from $10 to $12 per square foot. |
Source: improvenet.com
Exact pricing for each tile type will depend on the color and finish you choose, but setting your budget for materials now will help you rule out options outside your price range and make planning easier.
Most shower conversion kits come in either a curbed or curbless model. Here’s how to decide between the two options.
Curbed: These have a shower pan with a low barrier that completely encloses the space. This helps keep water inside of the shower, but you will still have something to step over when entering.
Curbless: This model sits flush with the floor. Getting the shower pan to that level can make the installation more difficult, and typically more expensive.
Before you start any demolition work, take some measurements to make sure your tub to shower conversion plans are up to code.
Once you’ve decided on a shower type and purchased the necessary kit and materials, it’s time to grab the tools you’ll need to pull off the job.
Tub-to-Shower Conversion Tools and Equipment:

Before you can tear out your tub, you’ll need to remove the old tile and drywall around it.
Now that you’ve taken down the tile and hardware and shut off the water supply, it’s time to tear out your old bathtub.
Pro Tip: You can leave your tub in one piece for removal. But always measure first to make sure it will fit through your doorway.
Now that your tub is gone, it’s time to complete your shower conversion by following the instructions on your shower kit. Most include a DVD or online video to walk you through the process step-by-step.
Now that you have a brand-new shower, it’s time to take a look at your vanity, countertops and floor. Check out our guide to demolishing your bathroom to kick-off your next remodeling project and our tips on how to complete the job on-budget.
For more DIY home improvement tips and tricks, visit the For the Home section of our blog.

